
Using wood as casting resin filler
Working with epoxy resin or UV resin for mold making and casting projects is a really fun way to reproduce an idea if you're looking to make multiple versions of the same object.
This project goes over how to embed small pieces of wood or bark in casting resin inside a small pre-manufactured silicone mold.
But first, some context:
I had recently started working with 2-part epoxy resin again and wanted to re-acquaint myself with embedding objects in resin as a way of perfecting an embedment technique with as little equipment as possible (i.e. I'm not ready to invest in a resin curing pressure pot). Hopefully, I'll have another tutorial coming out soon with a larger resin pour and a different kind of embedded object but wanted to share my small-scale results and testing technique here.
To make this as low-stakes as possible, I decided to see what would be the easiest thing to practice with and realized I had recently found myself rich with an abundance of yard mulch.
High winds that come with the autumn season here in Los Angeles have led to a large amount of felled branches in my little bungalow apartment’s driveway. There are six little units that share a communal driveway and my neighbors and I take turns clearing the driveway and maintaining the little gardening spaces we have around the property.
In addition to the plethora of dead branches we keep having to shove into our city’s green-disposal bin, this year, all of us decided to grow our own container gardens that come with their own heaps of garden waste from our bountiful harvest. I was able to get my hands on a fun Sun Joe Woodchipper/Shredder to help turn some of the fallen branches into valuable yard mulch.
Simultaneously, I have been learning a LOT about different kinds of epoxy and acrylic resins (see more of that research here) and realized that I could cut down on my resin usage per pour/cast by using a material like woodchips as filler material! AND it could also yield some pretty effects too if I were to incorporate some other fun things I had lying around the shop like these cool metal foil flakes. (Stay tuned for a second tutorial about more resin fillers :D)
Supplies:
Consumables
- Your favorite casting resin - I tried a few different kinds (see below)
- Mixing cups
- Stir sticks
- Yard waste (or any upcycled filler you'd like to experiment with)
Tools
- Wood chipper/shredder
- Resin mold - I used a silicone planter mold that used about 4.5 oz of resin without filler material
- A couple of buckets or large empty Tupperware containers to collect mulch
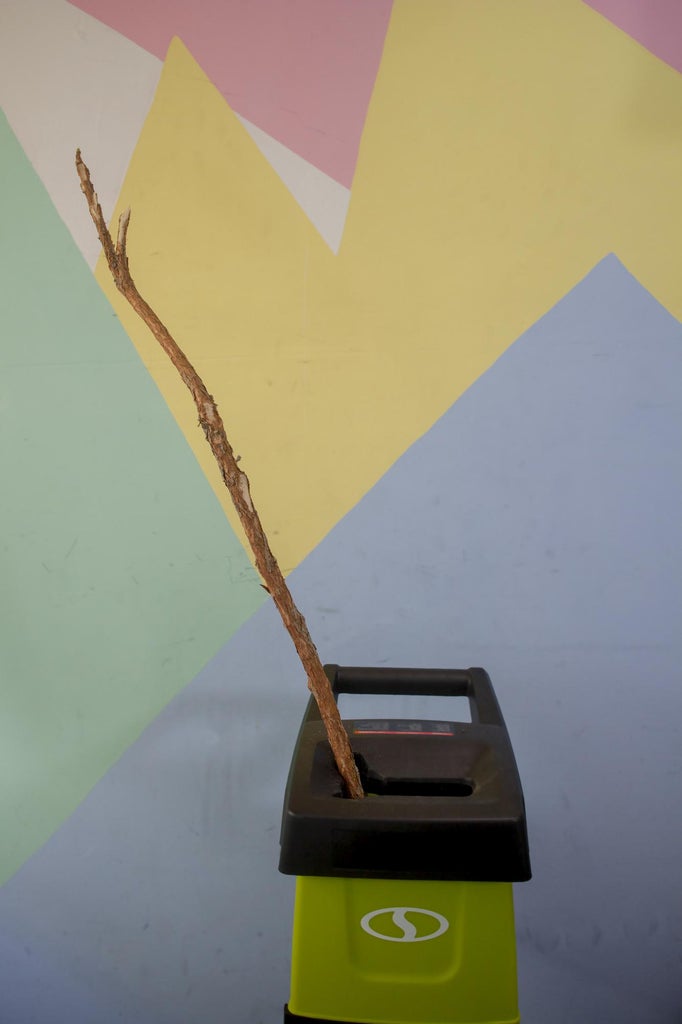
Step 1: Shredding the Branches


The branches from the tree above our building had piled up in the driveway. I took a moment to separate the leafy bits from the main branches and then fed them down inside the electric mulcher and sorted the bits into two bins.
I noticed that the woodchips were slightly green on the inside still and had read that moisture inside casting resin wasn't going to yield good results and was advised by a few youtube channels to allow the wood pieces to dry out completely before attempting embedding the wooden chunks into the resin.
I allowed the mulched branches to sit in the sun for about a week and waited for them to cure completely before prepping them for embedment.
Step 2: Ok, So This Took a Few Tries...
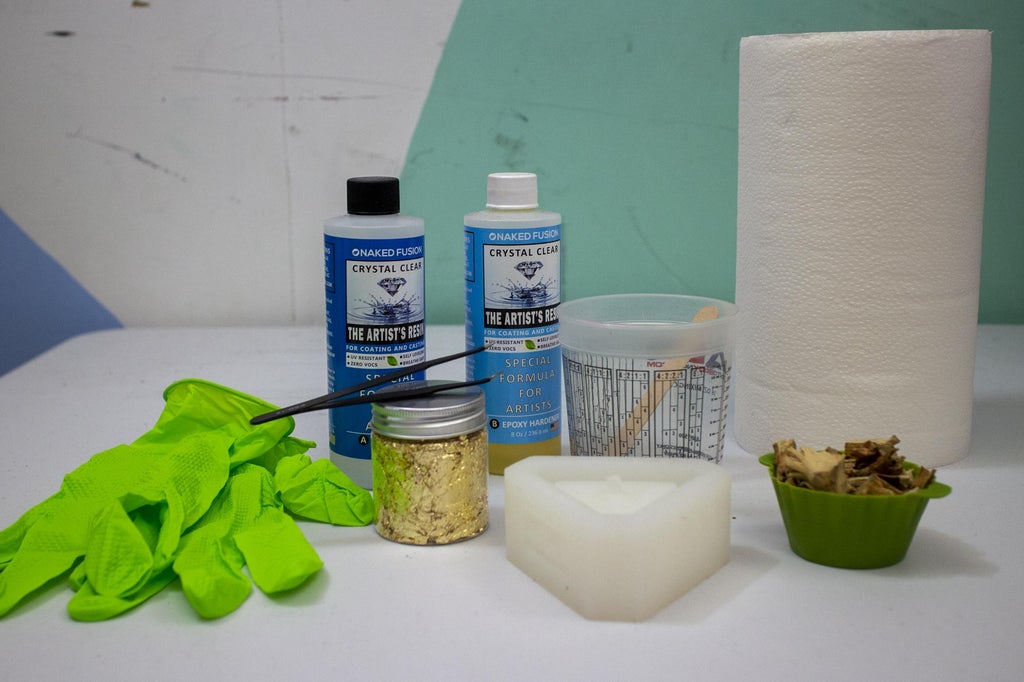


To figure out the best practices for this wood-chip embedment technique, I tried two different kinds of epoxy resin. This first test uses 1:1 clear casting resin that cures slowly over 24 hours and unmolds incredibly easily.
In addition to the woodchip filler material, I had some gold foil from another project that I always wanted to embed in resin to see how it looked.
Sometimes I write tutorials mostly to remember what I did so I can come back and reference it in the future. (this may be one of those times.)
Notes on resin safety:
Read the packaging for best handling and ventilation requirements. I use gloves and tools to minimize my handling and have lots of paper towels and alcohol at the ready to clean up any drips.
Step 3: First Pour


I poured a little bit of the mixed + prepared 1:1 resin into the mold and waited for the resin to pool around the whole bottom edge. I then slowly added lots of little woodchips using a popsicle stick to move the wood pieces around to the corners.
When the mulch pieces were pretty well packed inside the mold, I filled up the remaining cavity with resin and allowed it to cure for 24 hours.
Step 4: Topping Off the Mold


When the resin had set, I had noticed a lot of the wood pieces had floated around during the pour and there were some numbs of mulch sticking out. The wood chips didn't hold the position I had set them in making me realize I need to pack the chips more tightly together and allow a shallower pool of resin to cure first to prevent the pieces from floating to the surface.
Regardless, I wanted to finish this casting. I mixed up another 1.5 oz of resin and filled the mold to the top then added some gold foil flakes into the resin and allowed it to cure.
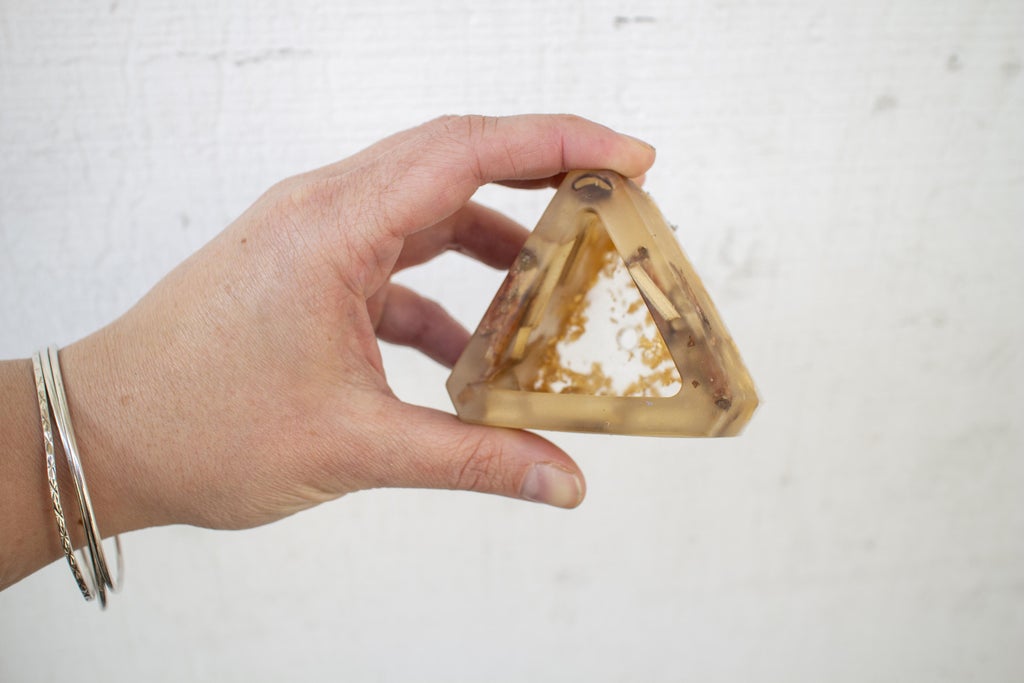
Step 5: Un-molding the First Test


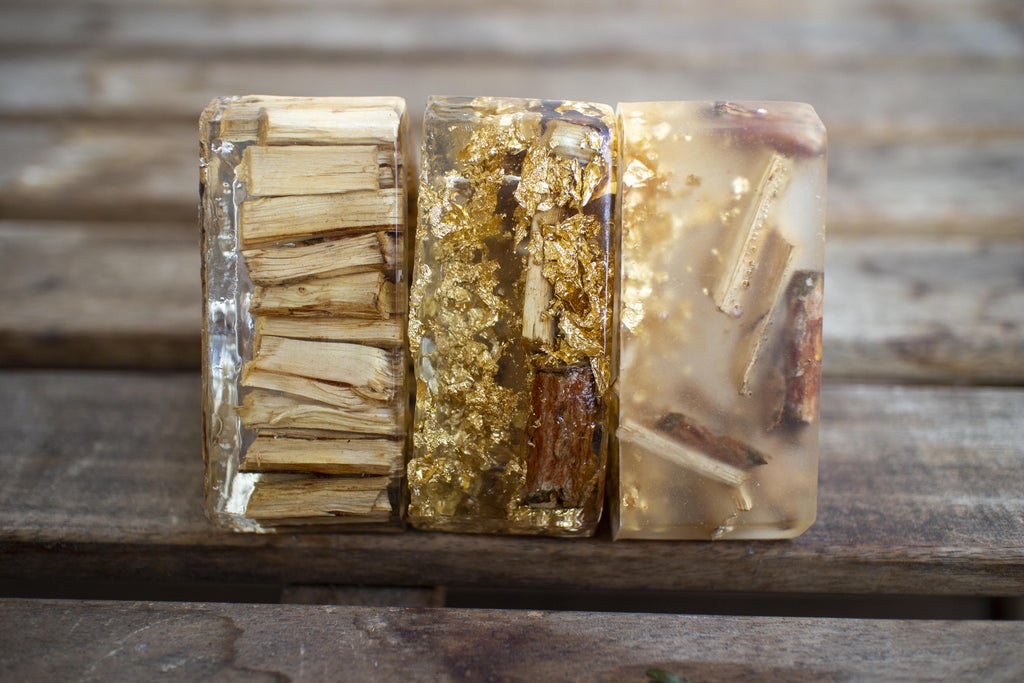
Here's what did work:
Looks kind of pretty in an ethereal kind of way, it was fun to add the metal flakes to the resin and I liked the effect, but perhaps I hadn't used enough.
Here's what failed:
There was a big temperature shift in my studio when the power went out and the air conditioner stopped working, and the resin clouded as it cured. The resin may have just been open for too long and the hardening catalyst had slightly yellowed.
The woodchips floated to the top of the pour-over time, so I needed to make some adjustments to my resin/woodchip ratio and shorten my cure time.
Step 6: Second Test
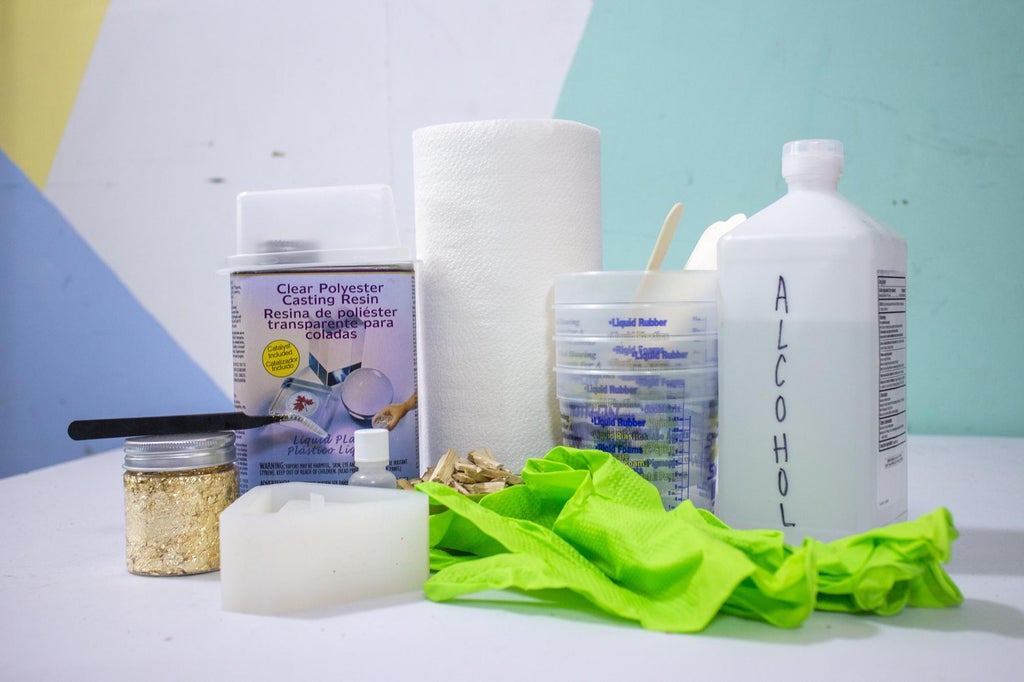

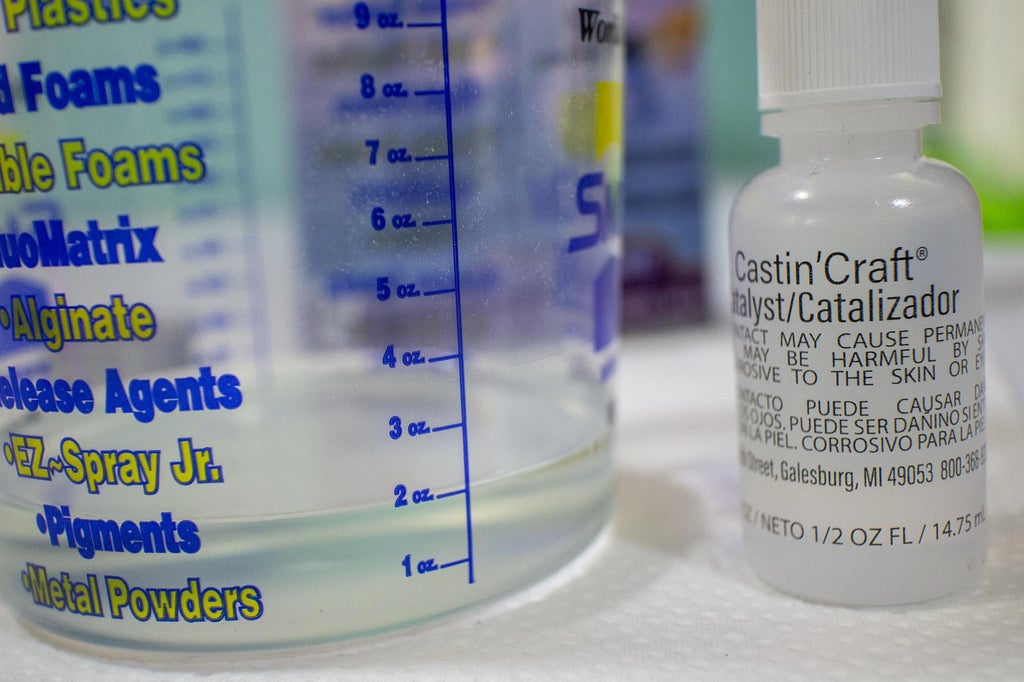

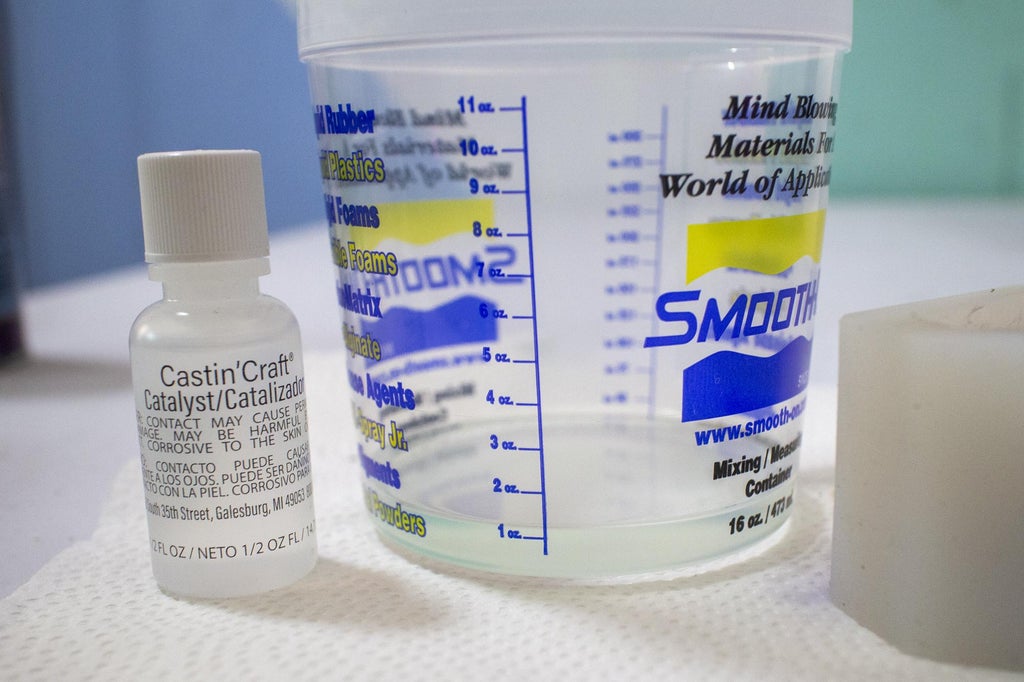
For the second test, I used Castin' Craft clear polyester resin - ventilation with this stuff is a must - I have a carbon filter in my workshop for projects like this.
This polyester resin isn't 1:1, instead, you add a liquid catalyst by the drop depending on the thickness of your pour and how many oz of resin you need.
Step 7: Priming the Mold


I had worked with this brand of resin a long time ago and remembered that it's best to add a little bit of resin to the mold and gently roll the mold around to cover the walls and bottom, even if it drips down it can help with adhesion.
Thanks to the sculpture teacher who gave me that tip 10+ years ago.
Step 8: Adding Filler With More Precision
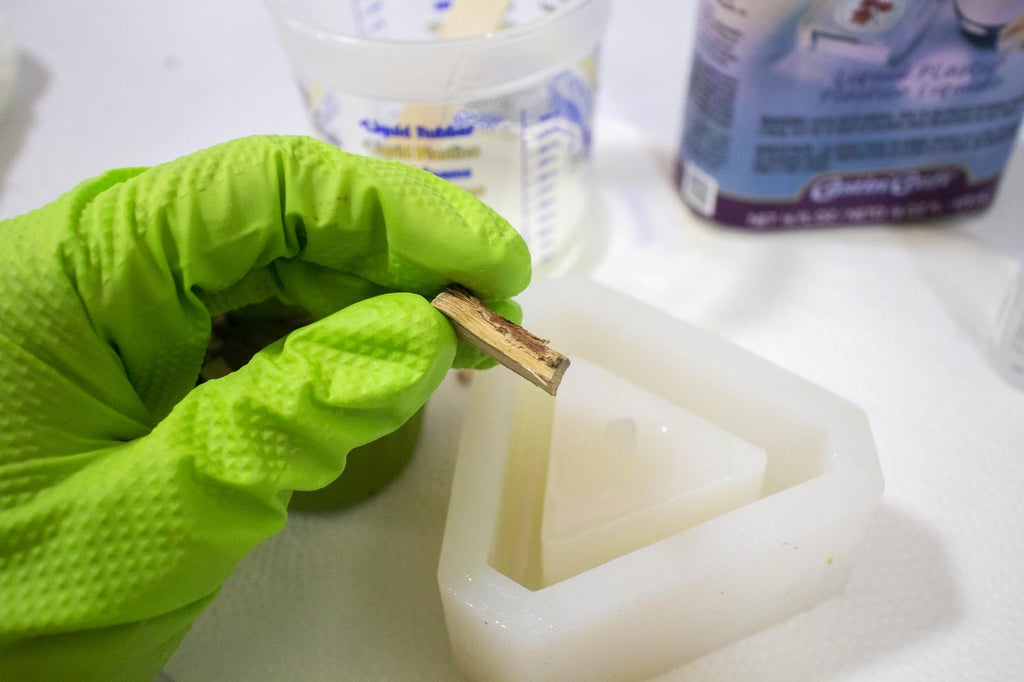

This time when I was adding the wood mulch, I very carefully started at the corners and worked my way to the middle using a set of craft tweezers to gently nudge the wood chips around and pack them tighter together.
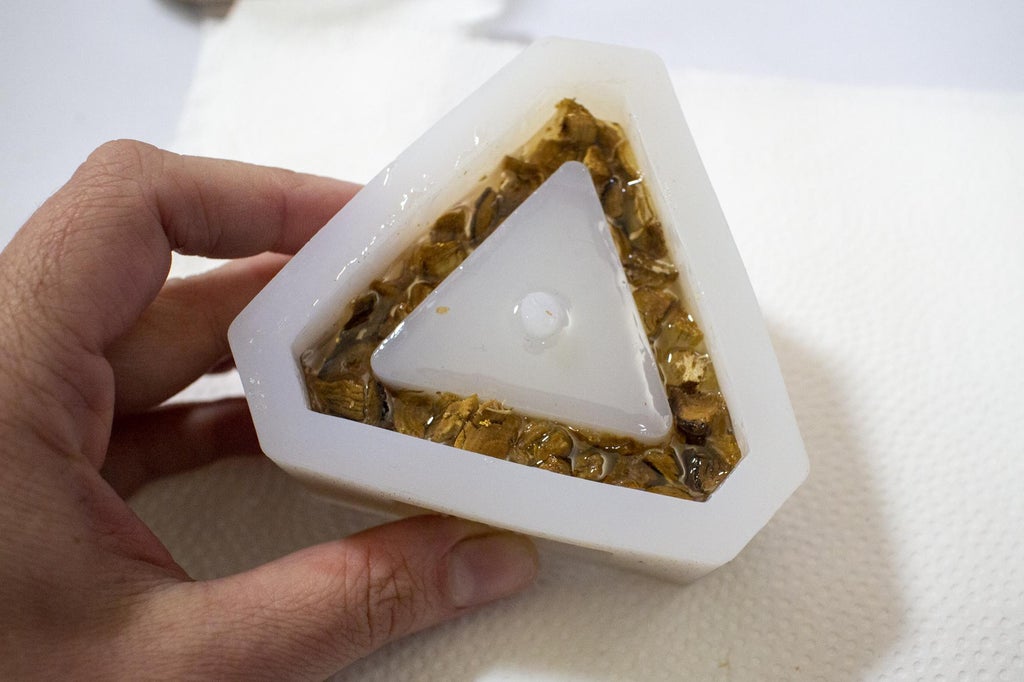
I covered the mulch bits with enough resin to submerge them, leaving about a 3/8" gap from the top edge of the mold, and allowed the resin to cure for 24 hours.
Step 9: Topping Off the Mold


After this resin had cured, I came back the next afternoon and mixed up the remaining amount of resin to fill the mold and allowed it to cure for another 24 hours.
Step 10: Keep Iterating...


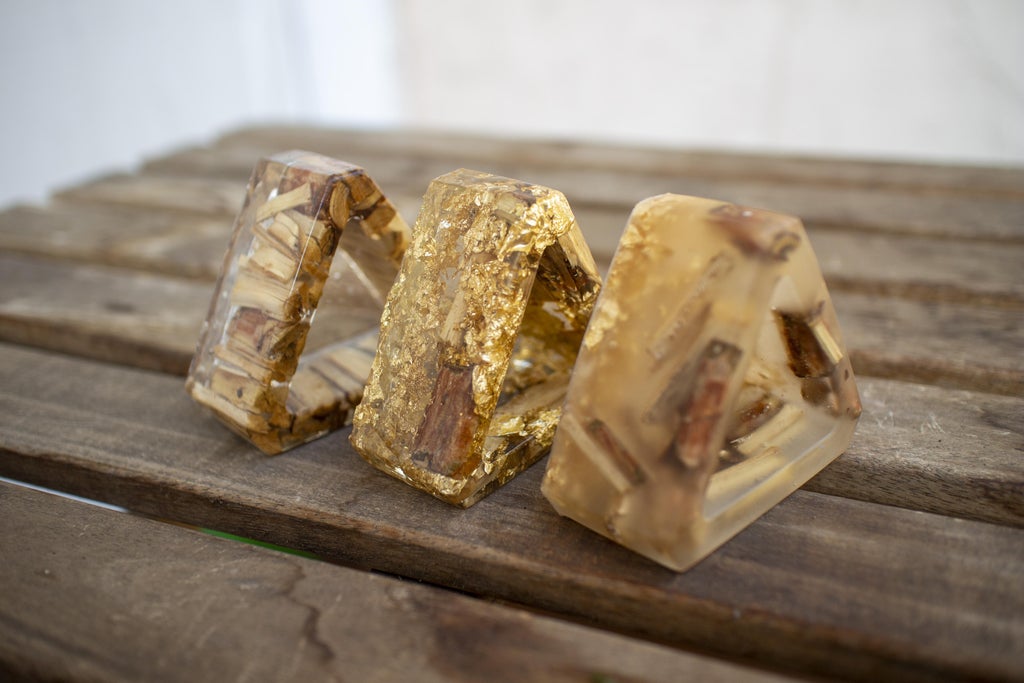
Each version of this casting technique was really fun to make, and I just ordered some opaque resin pigments to play with to see how that would look too.
Step 11: Planters...and Beyond?


I used a little planter mold for this prototype testing but I'd like to try some other molds with this technique. Or maybe I'll even try a tabletop pour.
I'll be sure to update this project page with my next experiments.
If you try making a version of this technique please post your results, or if you have your own tips please add them to the comments below.
Happy casting!
Leave a comment
Please note, comments must be approved before they are published